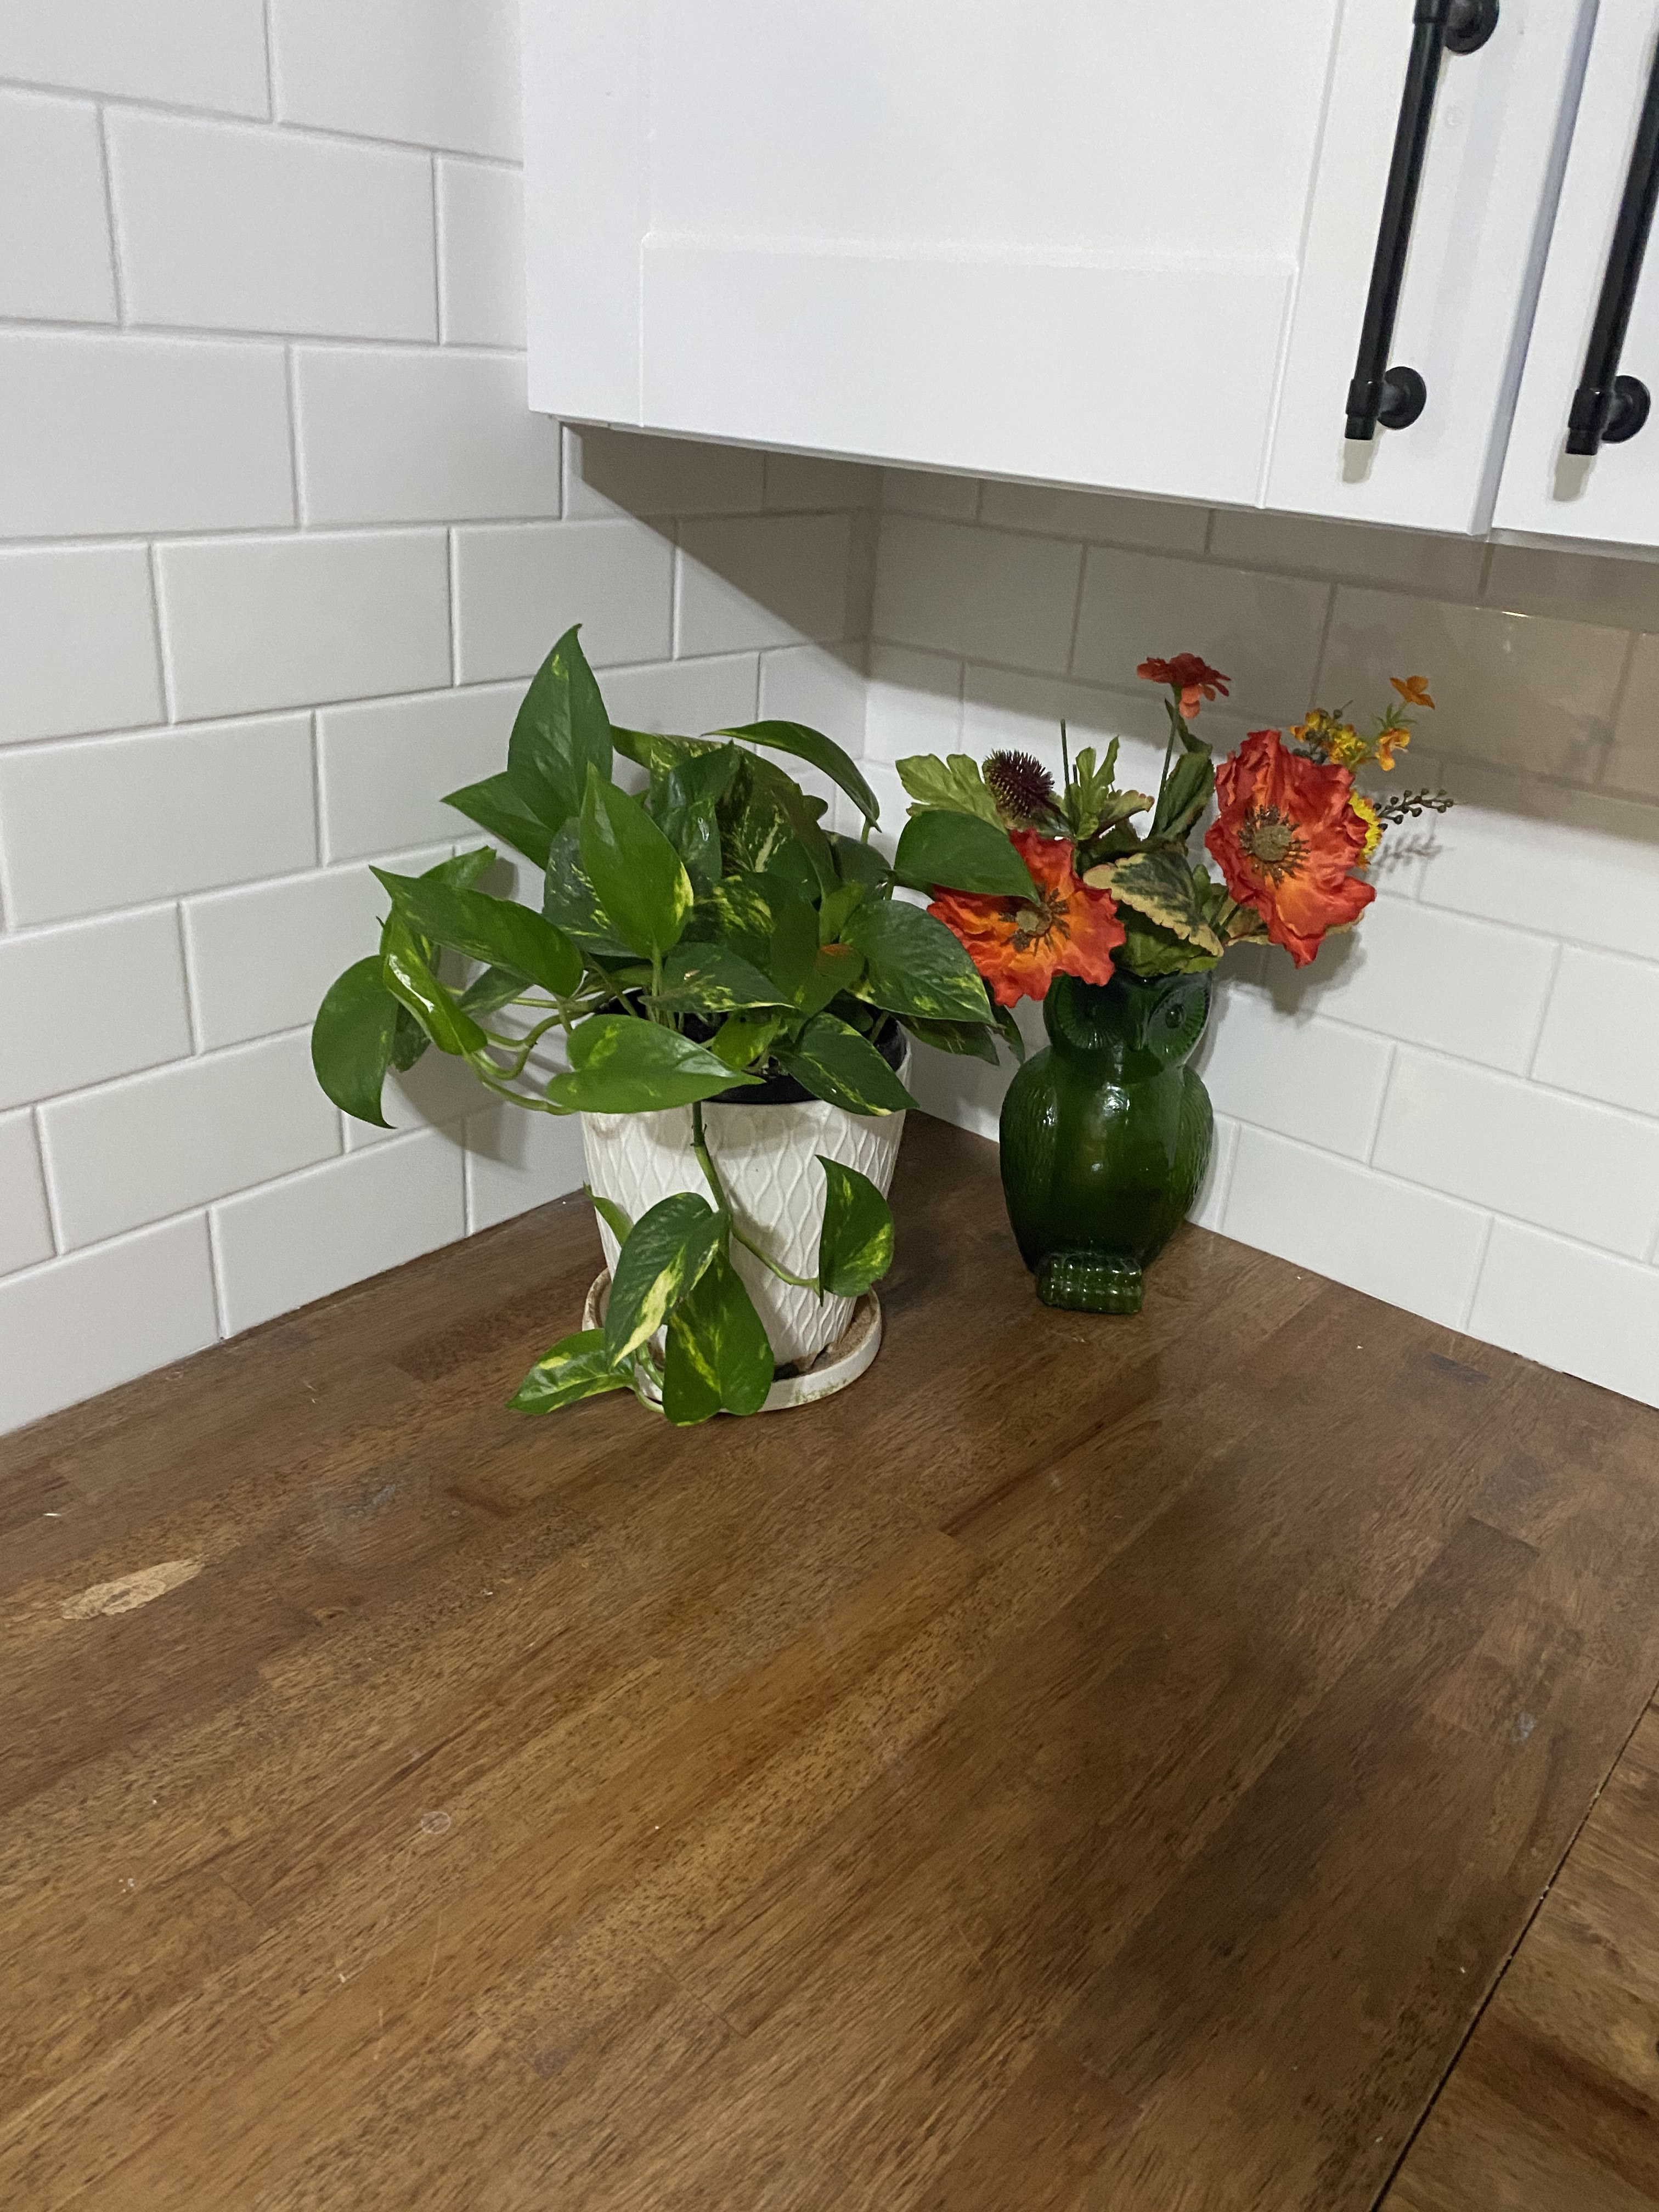
How To: Tile a Backsplash
If you want to make a huge impact in a kitchen, change or install a backsplash. You can change the entire feel of the room, with this few day project. This knowledge can be used in a kitchen, bathroom or anywhere tile is desired.
Supplies: Installation of new tile over drywall.
- Tile (I chose 3x6 white subway tile). Measure for square footage (length x width).
- Thin-set or tile adhesive (if the tiles are smaller).
- Tile spacers (1/4 inch is a great size for subway tile. You can certainly go with out them. They do offer the beginning DIY-er some piece of mind).
- Unsanded grout.
- Grout float
- Tile trowel
- Wet saw or tile hand saw
- Sponge
- Clean bucket or bowl
- Paper towels are always good to have on hand.
- Small putty knife (to load tile trowel and grout float).
- Caulk
Step 1: Clean wall
Step 2: Apply Thinset or Tile Adhesive
Now that your wall is clean and ready to go, it’s tile time! This is a tedious process. Be patient, the results will be worth it! You’ll want to apply the thinset in small strips 2-3 feet long. I tile in rows, not sections. If you purchased premixed adhesive, you’re ready to start. If you need to mix your adhesive, do that now following manufacture instructions. Use small putty knife to apply adhesive to the wall. Once that is covering your small area, use trowel to smooth evenly. Using the notched side of the trowel, run it over the previously smoothed adhesive. This will create notches in the adhesive. Starting at the bottom, start attaching the subway tile. Using spacers at the bottom and between the tiles. This ensures equally spaced tiles and makes the grout look much nicer. Continue this process until your wall is completed. Use the tile saw or wet saw, to make cuts in tile. While using a wet saw make sure you keep the water full to the line. This makes for smoother cuts and less chips. I take a dowel rod or skewer to make sure there isn’t any adhesive that squeezed out, between the tiles. Once all tiles are in place, let dry for at least 24 hours. Remove spacers after the 24 hours has passed.
Step 3: Grout
Time for grout! I like to buy the premixed non sanded grout for backsplash in kitchens because it already has a grout protection built in. If you buy a grout that needs to be mixed, that’s just fine! You’ll want to buy a grout sealer. This protects against stains and discoloration over time. Grab your bucket and fill a quarter or the bucket with lukewarm water. Have your sponge handy. I like to have a butter knife or small plastic putty knife handy to apply grout to the float. Working in small sections, use the grout float to push the grout into the grout lines at a 45 degree angle. I also use the tips of my fingers to apply the grout to tight areas and to help smooth the lines. Clean frequently, with damp sponge and water. Replace water every few sections. If the tiles appear to be wet or dripping, your sponge is to wet. When you have finished the grout process make sure your tiles are fully clean. Let this dry for another 24 hours.
Step 4: Caulk
This step is for all the imperfections to be hidden. Caulk along the countertop and any tile that is exposed on the sides. I like to take painters tape and create a channel for the caulk to go. I place a strip of tape on the counter and on the tile before caulking. Then I smooth the caulk with my finger and let it dry for 5 mins before removing the tape.
Now it’s time to enjoy the fruits of your labor. Not only will you save a ton of money, by doing it yourself. You’ll be so proud of your work. Now that you have done a kitchen backsplash, a floor will be no problem!