How to Build a Faux Brick Wall
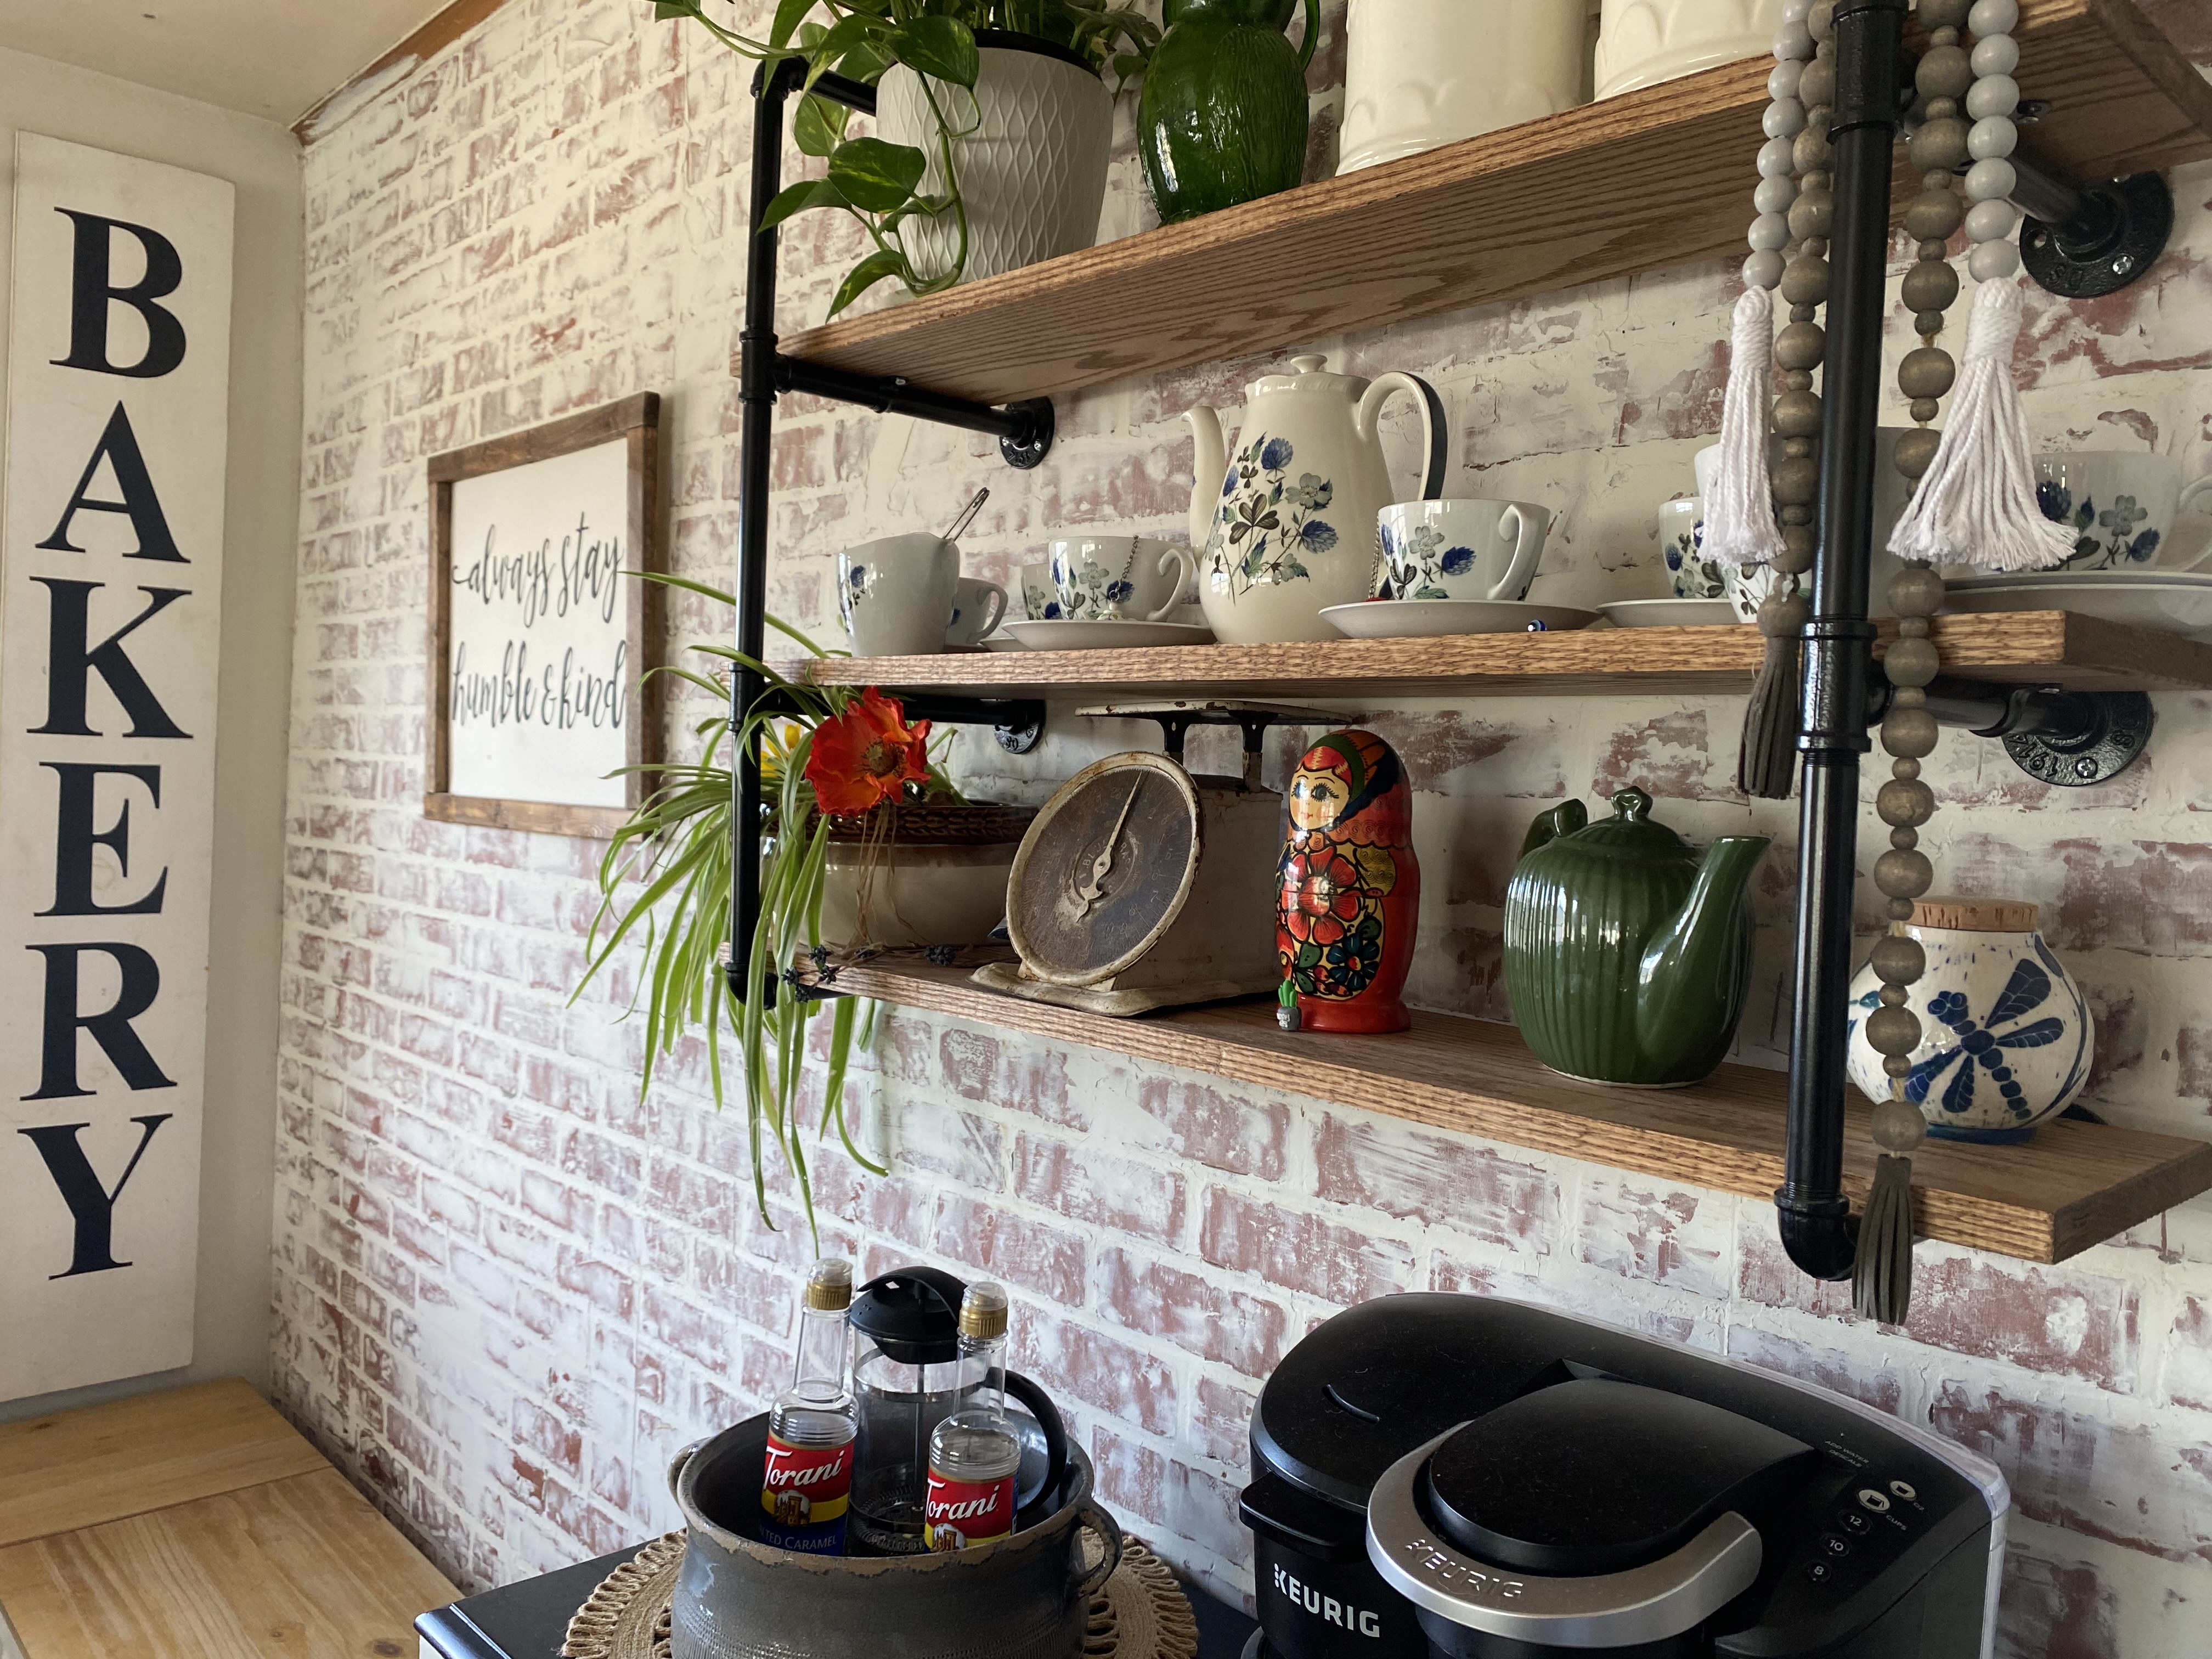
Hands down, the most talked about feature in our home is the faux brick wall. Not one person stepping into the dining room thinks that it wasn’t real brick. This project cost us about one hundred dollars and made a huge image in our home!
I was inspired to attempt this faux brick wall after reading a post from Corey at Sawdust2stitches. She includes a video on how she accomplished the technique of smearing the spackling over the brick panels. I chose the darkest colored brick wall panels for our home. The colors were a perfect fit for our newly sanded oak floors.
When we moved in to this home, our dining room wall was all wood paneling. From previous experience, I knew if we painted the panels we would use so much paint! Our choice was to remove it completely and drywall or to use panels again. Of course I didn’t want wood again. After looking at Pinterest (danger zone for me), I was dead set on this faux brick. After measuring my walls square footage, I headed to the hardware store!
Supplies :
- 4x8 Brick panels (our wall took three)
- Nail gun and compressor
- Nails
- Liquid Nails
- Jigsaw
- Wall Spackling (white)
- Putty knife(s)
- Trim (optional)
The first thing we did was lay out out panels on the floor. This way we could line up our seems. Make sure to check your boards at the store. Assuming they were all the same, we grabbed three and one was slightly cut wrong. Luckily for us, we had to cut one board down and we had trim to cover the small gap at the floor. If you have any outlets to cut around, do that now. I measured from the corner and marked my outlet. I used a jigsaw to cut out the shapes I needed. Dry fit the panel to be sure it fits.
Once the boards are lined up and ready to go, grab some one to help. These 4x8 panels aren’t easy to hold in place and attach to the wall. Flip the panels over and apply a liberal amount of liquid nails. Try to avoid the edge, so it won’t ooze out. If it does, clean up with a damp paper towel. Having one person hold up the panel and the other nail it in, using the nail gun. I started in the corner of the room. I knew there would be a stud there. Most studs are 16 inches apart. I used that as a rough guide to apply my nails. I placed my nails every 6 to 8 inches and made sure to add extras at the seams. Continue this process for the next two panels. You can either cut the last panel to fit or cut the extra off after you nail it. With our last board being cut wrong, we cut the extra off. I’m glad I did this, because we would have been short on the top. To cut off the overhanging piece of panel, I used the jigsaw. A reciprocating saw would have been a cleaner cut. I knew I was trimming that corner and wasn’t to worried about the edge.
This next part was my favorite! Grab your spackling (or joint compound) and putty knifes. I used two sizes of knifes. One small to get the spackle out of the container and a large metal one to scrape the wall. I start in the top corner and worked down in rows. When you apply the spackle to the panel, start in the seams. My seams were dark grey and I wanted to see very little of them. Apply it to the wall thick and spread it around with the larger metal knife. The larger putty knife will allow you to create the look you want. I paid the most attention to the seams, trying to conceal them. Work in small sections. When you noticed your spackle is drying, go over it lightly with the putty knife. This will give it a rougher style.
Finishing touches make everything come together. To make sure your wall doesn’t create dust or flake off, you’ll want to seal it. I used a water based polycrylic. It won’t yellow and it has low odor. Once you have sealed the faux brick wall add your trim and outlet covers. I finished my wall with a pipe shelf and a locally made sign!