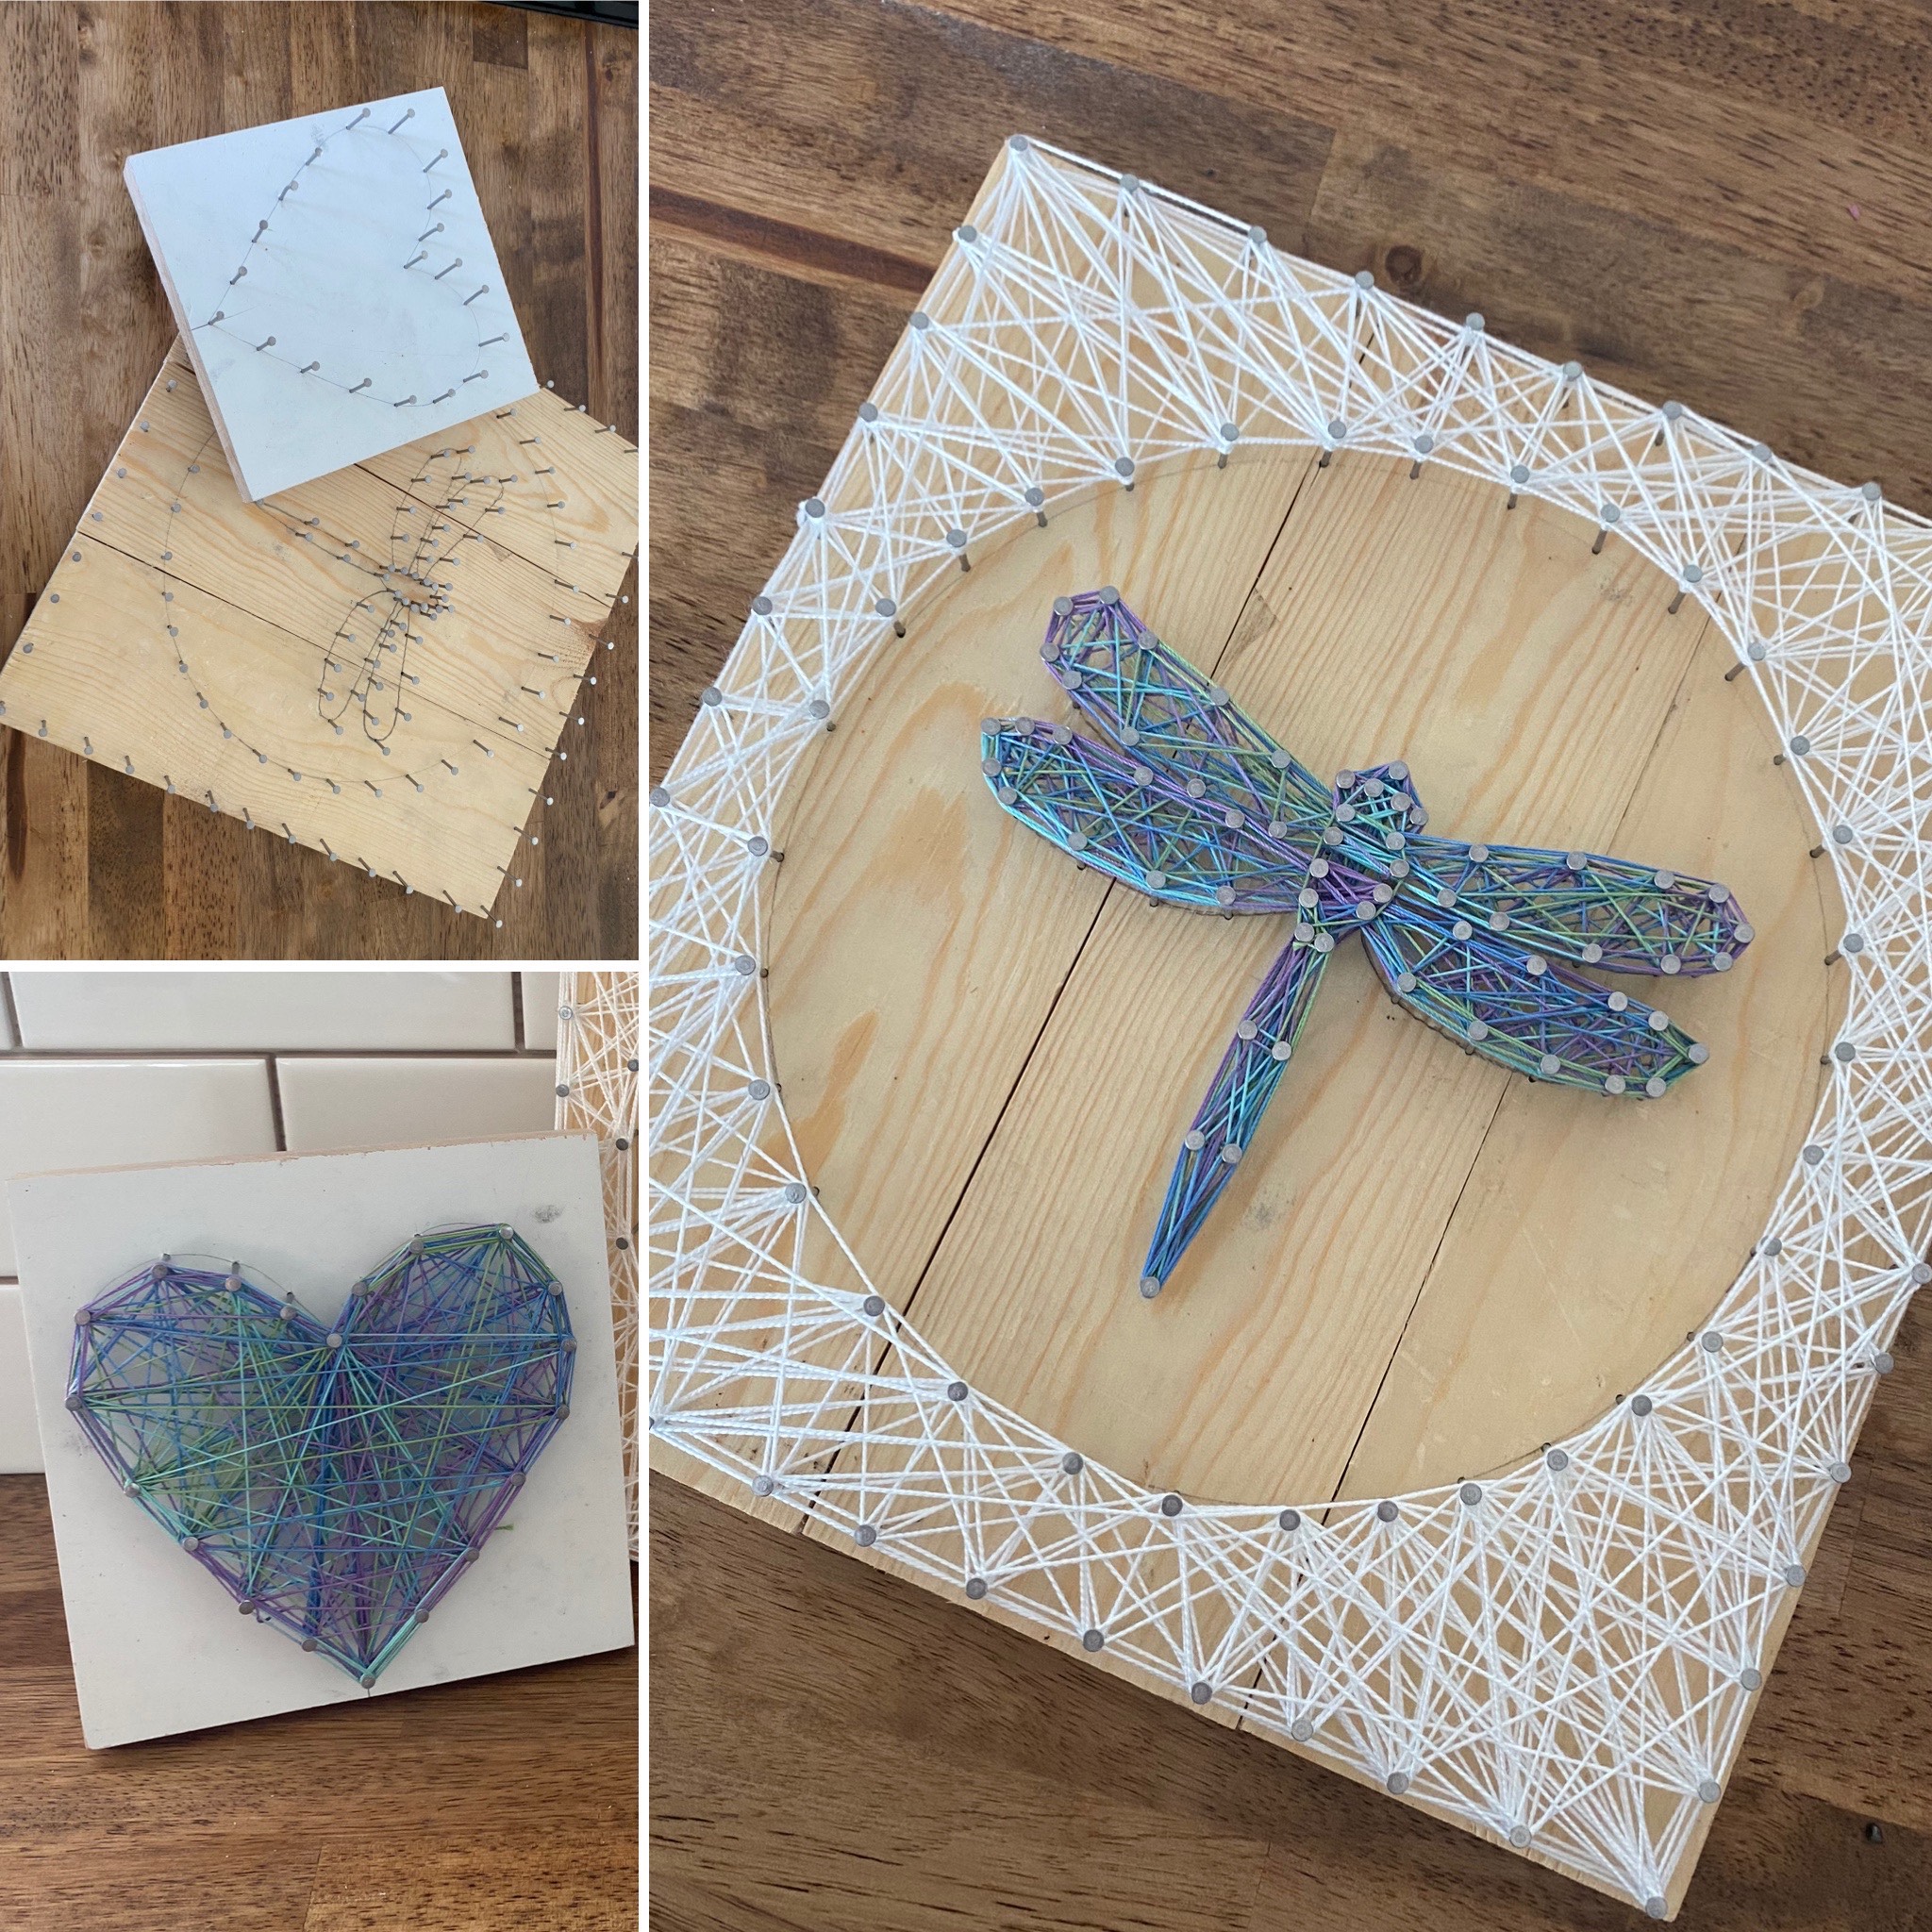
String Art!
First time for everything! When you create something new or you figure out something you have been working on, that’s the best feeling in arts and crafts. This week I wanted to branch out and try something completely new. I’ve had my eye on string art for awhile now and decided that was what I wanted to try. I’m going to share my process and some tips from the pros!
Supplies
â—¦ Wood of your choice. I used scrap wood I had. They were all 1x4 (3) and 1x6 trim pieces.
â—¦ Brackets - if the wood isn’t a sold piece.
â—¦ Box 1 to 1 & 1/2 inch wire nails
â—¦ Hammer
â—¦ Embroidery floss or fine crochet string (this is what I chose to use).
â—¦ Printed outlined image of what you want to make or draw it on the wood lightly with pencil.
â—¦ Push pins (optional)
â—¦ Super glue
â—¦ Paint or stain (optional)
â—¦ Paint brush if staining or painting
â—¦ Pencil
Step 1: Let’s get started! If you’re using a solid piece of wood you can skip ahead to the next step! First thing we need to do is connect our small scrap pieces to make our panel. I used scrap 1x4 pine for the dragonfly and 1x6 primed pine for the heart. I laid my three scraps out and made them all the same length. Then I made them into a square shape and cut them on my miter saw. Laying them on the table, good side down, I used (4) two inch L brackets to connect my panels.
Step 2: If you choose to stain or paint your panels, do that now before you start the nailing process. When it is fully dry you can begin the nail process.
Step 3: You want to position the printout on your wood panel. If you are going to do a double image, like the dragonfly within the circle, you’ll need two images. I decided to use a pencil and trace my image. If you prefer to use the push pin method I’ll explain that in a moment. I placed my dragonfly outline where I wanted it and traced the image (pressing firmly). This left an indentation on the wood. I lightly traced over the indent entirely or you can mark your holes along the indent. If you want to use the push pins, you will place a pin whenever you plan to place a nail. I placed my nails roughly 1/2 inch apart (closer on curves and small details; like the head and wings). These holes will act as guides and you will not see the outline of the image under the string.
Step 4: Get your nails and hammer ready. Stay patient with this process. If you hit a nail in too hard and it’s lower than the rest, just gently pull it back up. If you bend a nail or five(oops!), it’s ok! Hammer your nails in every half inch or so to get enough nails to string around. If you don’t put in enough you’ll have sharp edges and it will be difficult to correct after you start stringing. I did add more nails to the curve of my dragonfly wings after I started stringing. I could tell it was going to have harsh angles. I didn’t have a problem, because I noticed right away. You want the nails to go about 1/2 inch into the board. This means you want the board to be at least 3/4 inch thick. I worked on a mat just in case I got a little overzealous with the hammer.
Step 5: Start the stringing process! The first knots are the hardest part. I ended up making a small loop near the end of my string and then putting it over the nail head and tightened it. I left the tail of the string there. I did that because I wanted to be sure it wasn’t going to unravel with me pulling the string so tight. Starting with the outline of the shape(s), you want to take the string and wrap it around the nail head. It’s a very loopy process, literally. If the string is loose at any point make a second loop around the nail as this will help it stay put. You can also add a dot of glue if you need it to stay. Once the outlines are done, zigzag the string back and forth between the nail heads, being sure to loop the top of each nail. Go in both directions and try not to follow over previous strings, to make it look full. Continue this process until you have completed the look you desire. I did several layers (at least 10). I wanted it to stand off the wood, since I didn’t stain or paint my boards. If your string keeps sticking together or winding up, cut the string long and tie it off on a nail head like we did to begin. I decided on a border when I was finished to make it look complete. I wrapped the string around two nail heads at a time looping it on the second nail head twice for a tight hold. I did find some videos online to help explain this part to me.
Step 6: Finishing up the tail pieces. You’ll have several small pieces of string to trim and tuck in. I made an extra knot on each tail. Then trimmed them as close as I could without cutting the knot. Next, you want to put a dab of glue to hold the strands together.
I am very happy with the way this project turned out. Not everything we do comes easy and not everything we do is perfect. I was able to unwind and try something I haven’t done before! I call that a win.